---
title: 'ESP8266 Medicine Indicator Light'
date: 2023-10-16T11:34:14-04:00
tags: ["diy", "tutorial", "esp"]
author: "Me"
showToc: true
TocOpen: false
draft: false
hidemeta: false
description: 'Learn how to make an ESP8266 and a few simple components into an indicator light.'
disableHLJS: true
disableShare: false
disableHLJS: false
hideSummary: false
searchHidden: true
ShowReadingTime: true
ShowBreadCrumbs: true
ShowPostNavLinks: true
ShowWordCount: true
ShowRssButtonInSectionTermList: true
UseHugoToc: true
cover:
image: "esp_medicine_indicator.png"
alt: "ESP8266 Logo with a Medicine Icon, Colorized"
caption: "Learn how to turn an ESP8266 device into an indicator light"
relative: false
hidden: true
---
This is a quick treat! We recently learned that one of our children needs to take medicine twice a day for the foreseeable
future. He's too young to take it on his own, so the twice-a-day responsibility is split up between my partner and
I. However, sometimes our schedules don't overlap so succinctly, so we needed some sort of indicator to let the other know if
the previous dose was (or wasn't!) taken. Naturally, I sprung into action with an ESP device and components.
## Device Overview
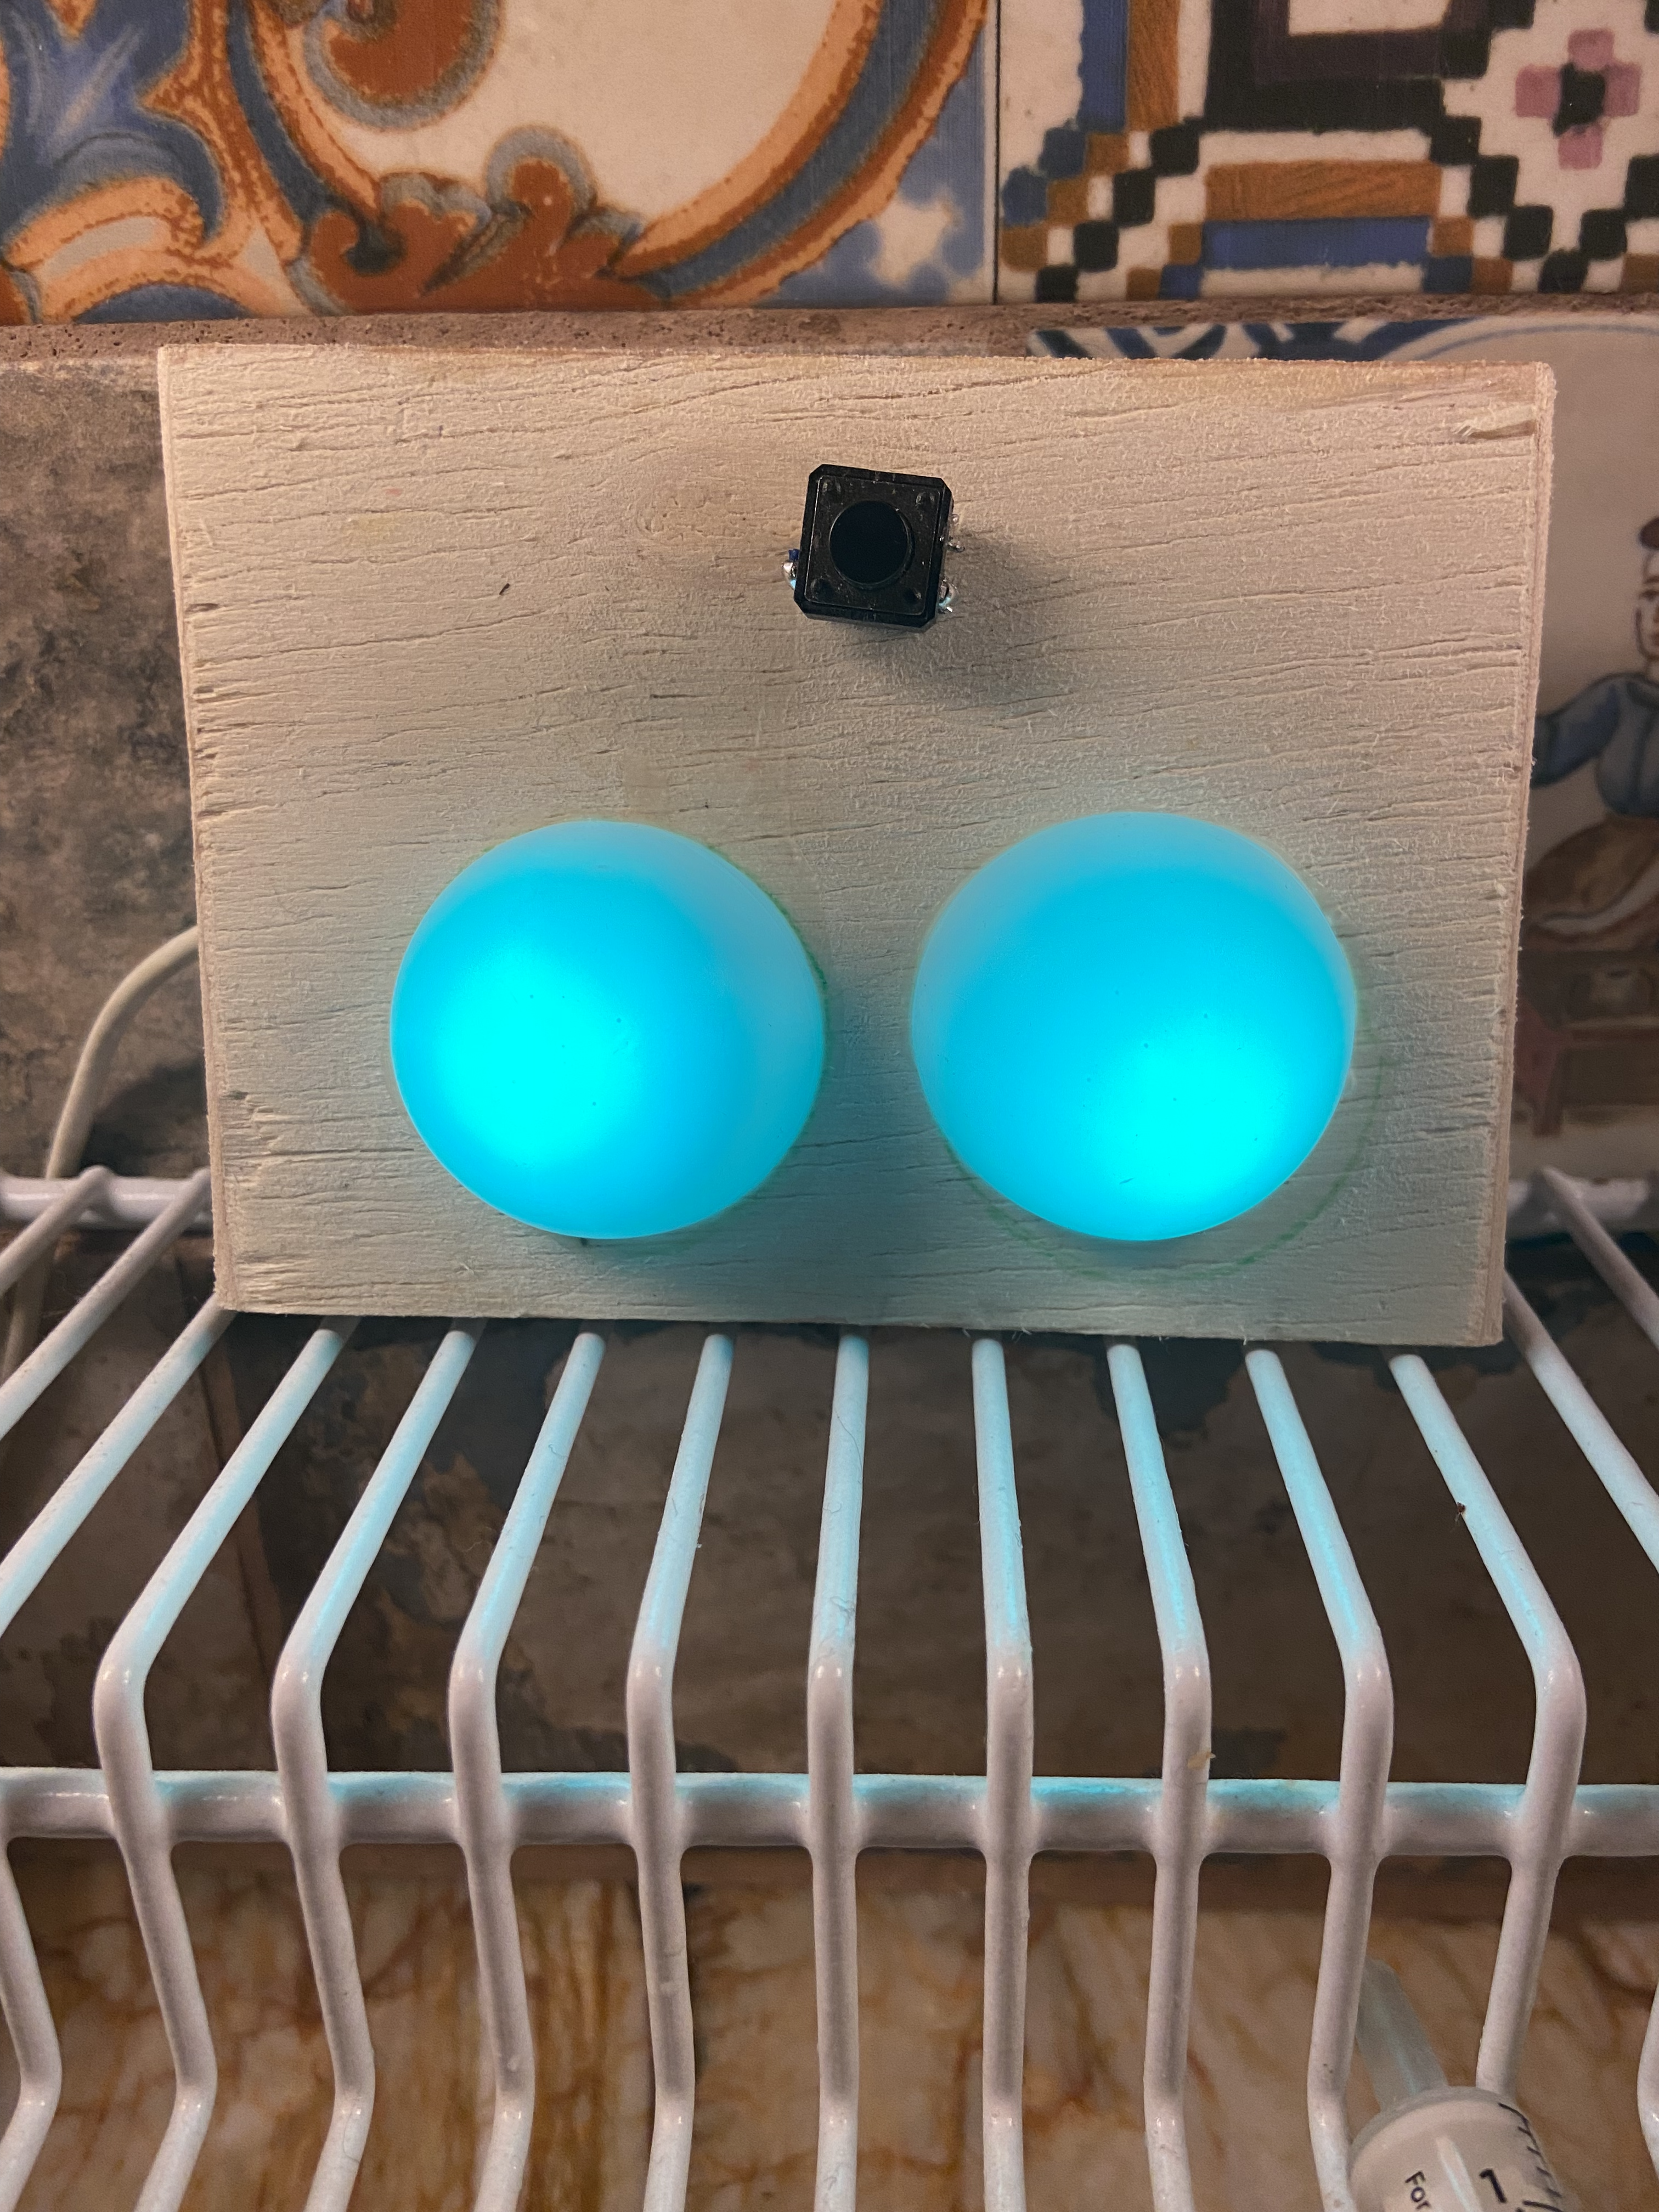
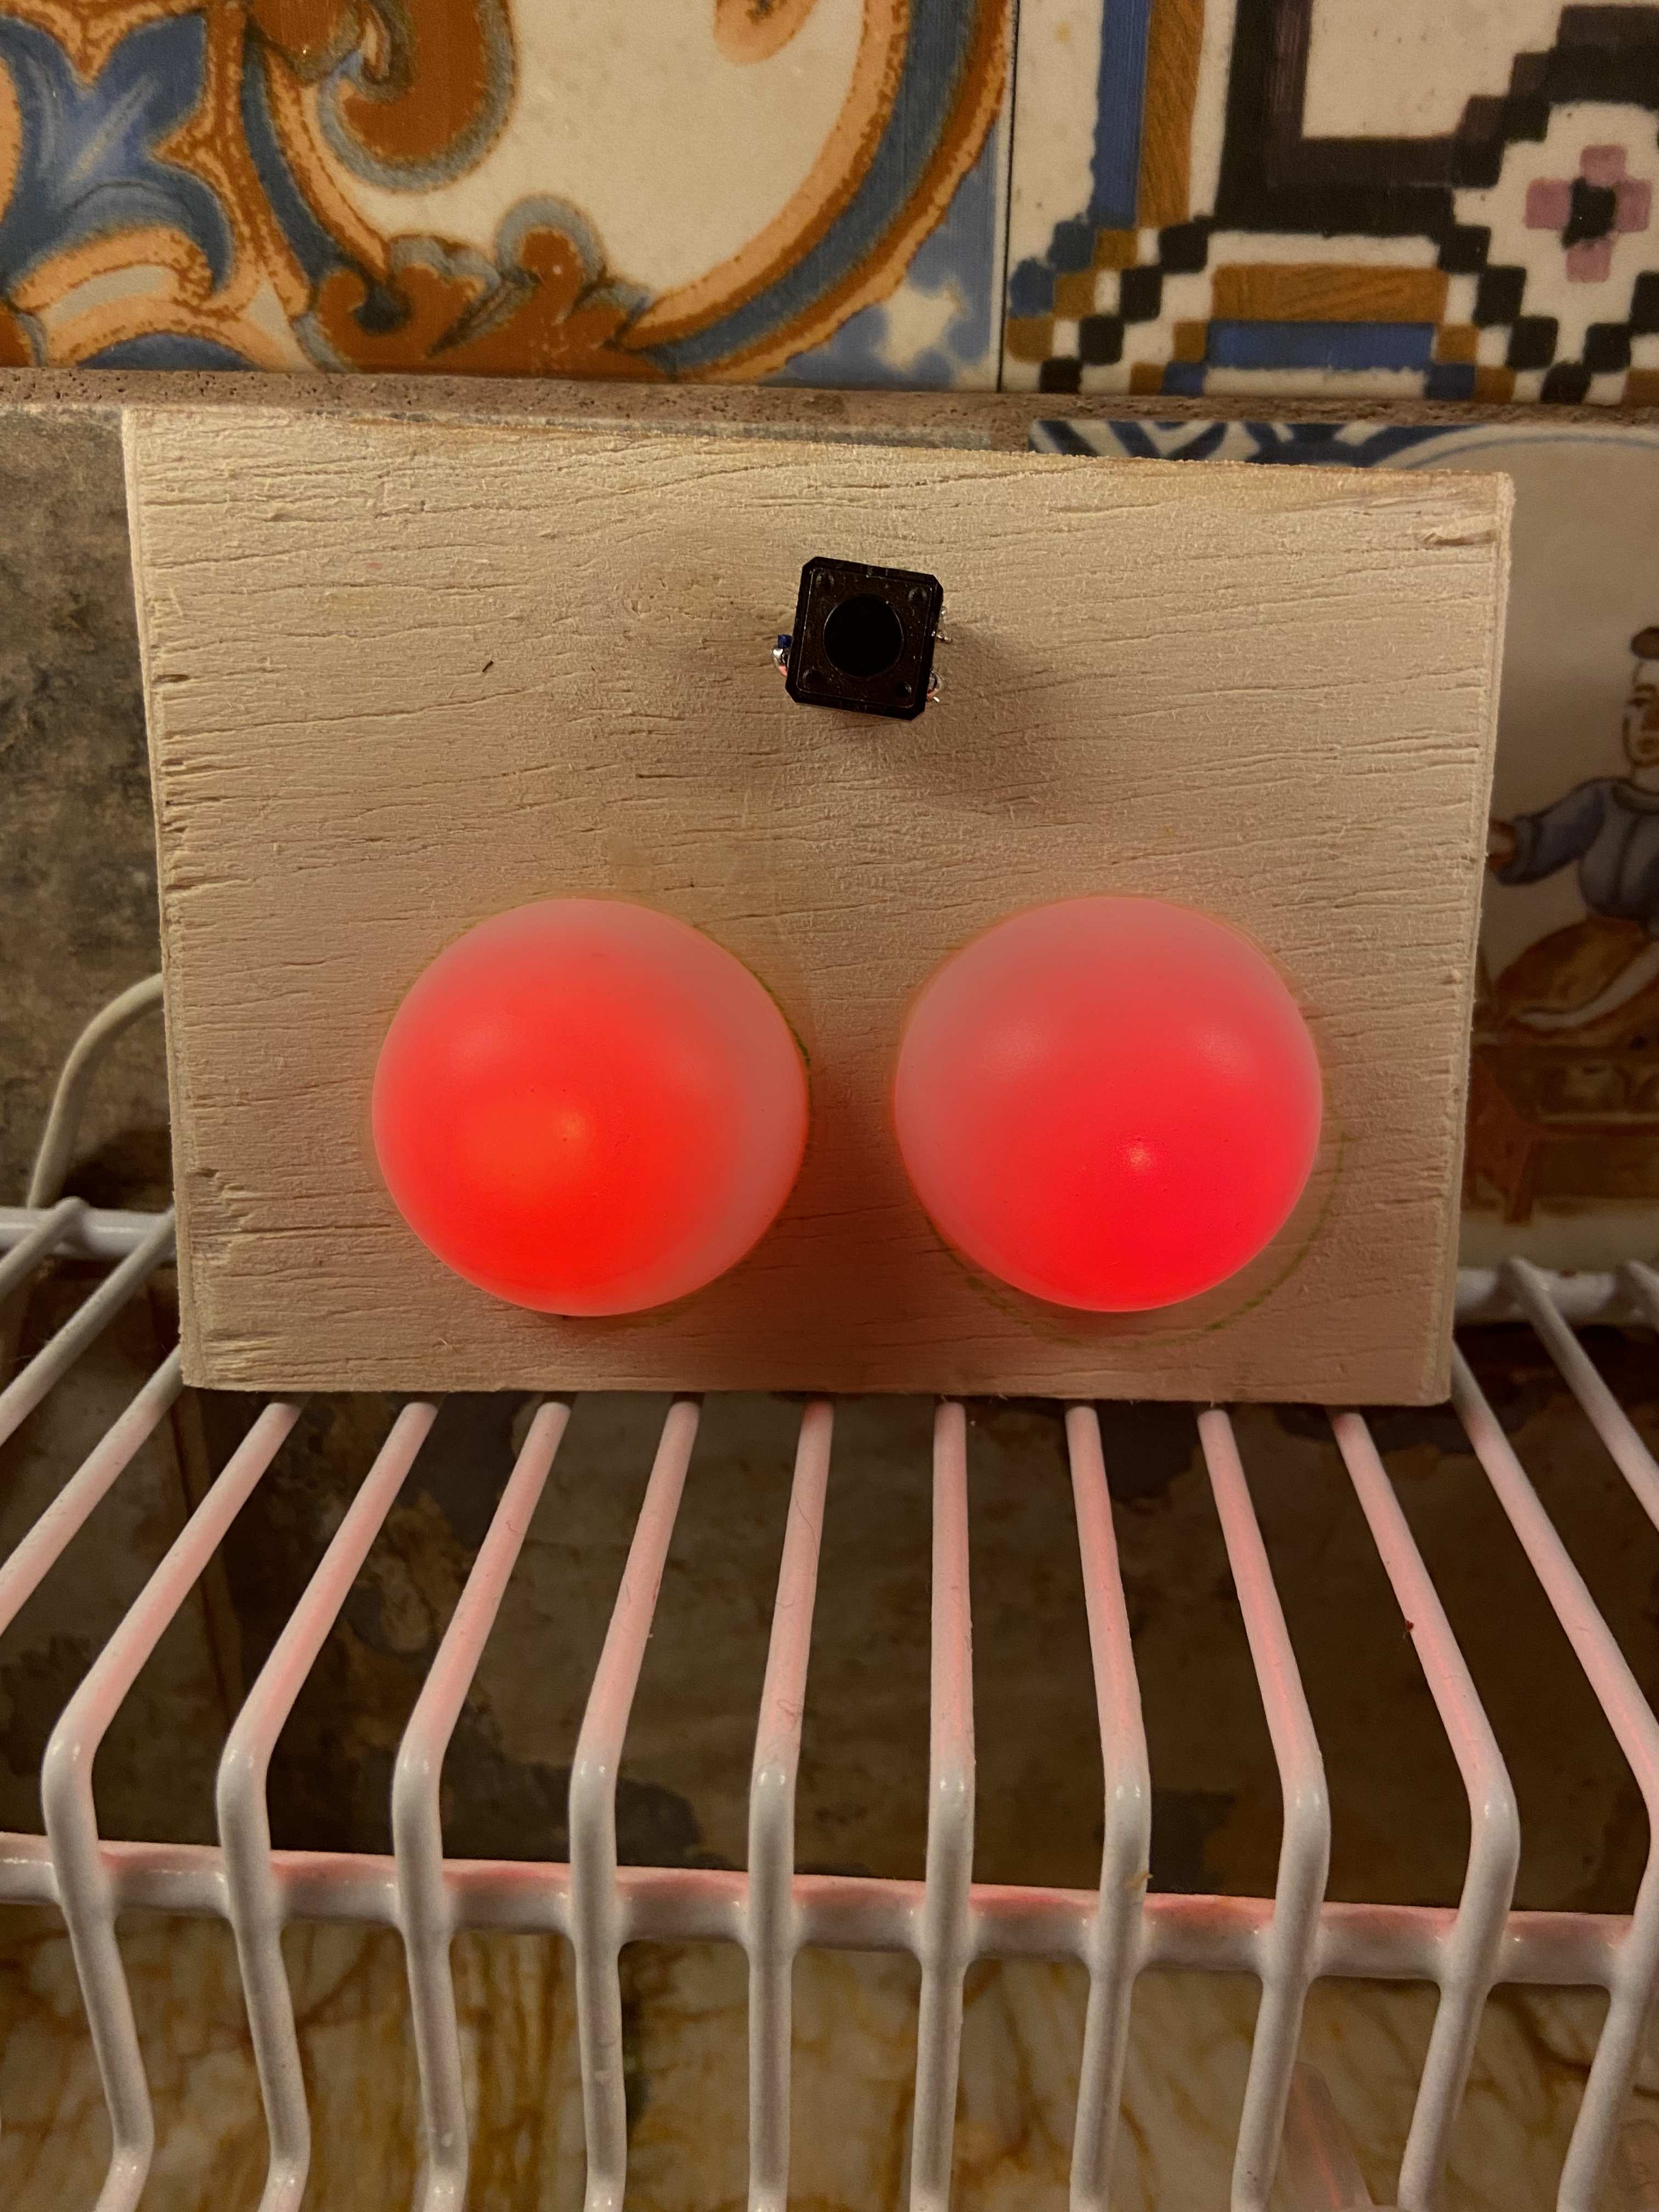
The device works like this ([see the pictures below]({{< ref "medicine_indicator_light.md#pictures" >}})): Two [single neopixel LEDs](https://www.adafruit.com/product/1260) and a
non-latching button are connected to the ESP8266. Inside the code there is a [switch-case](https://www.arduino.cc/reference/tr/language/structure/control-structure/switchcase/)
section which changes states per high/low state of the button. On each press, the lights will change to one of the following:
* Red/Red
* Green/Red
* Red/Green
* Green/Green
For each case, I established a values for `morning` and `evening` which will be given a value of 0 or 1 - 0 to indicate that the medicine was
not taken, and 1 to indicate that it was taken. Along with the time server data, I send an MQTT payload to my [MQTT Broker](https://mosquitto.org/).
Here's what the payload looks like:
```json
{
"time": "1630",
"morning": "1",
"evening": "0"
}
```
## Thoughts and Background
I'd like to write a longer post that explains each section of the code, but I'm running out of
time - work has been quite busy lately. If you'd like me to add a post with more code explanations, or just have questions,
feel free to mention me on [Mastoton/Fosstodon](https://fosstodon.org/@notnorm) and we can chat.
The much shorter explanation is that I didn't want this device to be an isolated device in my network; this was part of the
impetus in using an ESP device as opposed to another microcontroller. So what I did was connected the ESP8266 to my wifi
network and imported an NTP (Network Time Protocol) server to ensure I get I have the current time. Then, look at the state
given by the case (and thus the external light indicator), and construct and transmit an MQTT payload with the state of the
light & time, so that I can use it elsewhere. In other words, now with MQTT payloads being accessible to HomeAssistant, I can
send myself a notification, or make an announcement on a speaker.
What's neat about importing a time server is that at midnight, I reset both of the lights to red so that I don't have to
reset it manually when I get up in the morning.
In a separate post, I'll show how I use the MQTT payload in HomeAssistant to send [Pushover Notifications](https://pushover.net)
to me and my partner in case we forgot to give my child the medicine! What's great about this little project is that it is
scalable (add more components and sensors!) and it isn't limited to a medicine indicator. You
could use the button to count how many times your dog (or child!) has gone to the bathroom, how many times you have eat or
drink water while working, and many more ideas.
Assuming everything has gone well for the day and we've given my child both doses, we should be heading to bed with both of
those lights being green.
## Materials Used
Here is what I used to construct this:
* [ESP8266 Dev
Board](https://www.amazon.com/HiLetgo-Internet-Development-Wireless-Micropython/dp/B081CSJV2V/ref=sr_1_1?crid=7JMC6TOMCS9I&keywords=hiletgo+esp8255&qid=1697229200&sprefix=hiletgo+esp8255%2Caps%2C89&sr=8-1) - I tend to like HiLetgo from Amazon.
* 22 AWG Solid Wire
* White Ping Pong ball - Cut in half
* Balsa Wood
* [Tactile Button Switch](https://www.adafruit.com/product/367)
* [Adafruit Flora RGB NeoPixel](https://www.adafruit.com/product/1260)
## Pictures


## Full Code
```c++
#include
#include
#include
#include
#include
#include
#include
#include
#define NEO_PIN 14 // Pin for all the Neopixels
#define SIG_PIX 2 // Data pin for Neopixels
#define BUTTON_FWD_PIN 4
#define mqtt_topic "home/medicine"
const char* ssid = WIFI_SSID;
const char* password = WIFI_PASS;
const char* mqtt_server = MQTT_SERV;
const char* mqtt_user = MQTT_USER;
const char* mqtt_password = MQTT_PASSWORD;
boolean oldState = HIGH;
int mode = 0; // Active mode on startup
unsigned long previousMillis = 0;
const long interval = 5000;
// NTP Definition
const long utcOffsetInSeconds = -14400;
WiFiUDP ntpUDP;
NTPClient timeClient(ntpUDP, "north-america.pool.ntp.org", utcOffsetInSeconds);
WiFiClient espClient;
PubSubClient client(espClient);
long lastMsg = 0;
char msg[50];
float value = 0;
// Setup defaults for the eventual MQTT payload
char hours[] = "";
char minutes[] = "";
boolean morning_status = false;
boolean evening_status = false;
char current_time[] = "";
int int_time = 0;
// Necessary Setup for Neopixels
Adafruit_NeoPixel NeoJewel = Adafruit_NeoPixel(SIG_PIX, NEO_PIN, NEO_GRB + NEO_KHZ800);
unsigned long delayTime;
// Taken Medicine Color
uint32_t pineGreen = NeoJewel.Color(14, 170, 26);
// Not Yet Taken Color
uint32_t pureRed = NeoJewel.Color(255, 0, 0);
void setup() {
//delayTime = 1000;
Serial.begin(9600);
delay(50);
while (!Serial) {
// wait for serial port to connect. Needed for native USB port only
}
// Print Status of Wifi Connection to Serial Monitor
Serial.println("Attempting to connect to SSID: ");
Serial.print(ssid);
WiFi.begin(ssid, password);
// Attempt to connect to WiFi network:
while (WiFi.status() != WL_CONNECTED) {
delay(1000);
Serial.print(".");
}
Serial.println("");
Serial.println("WiFi connected");
Serial.println("IP address: ");
Serial.println(WiFi.localIP()); //You can get IP address assigned to ESP
Serial.println("Mac Address: ");
Serial.println(WiFi.macAddress());
delay(100);
client.setServer(mqtt_server, 1883);
WiFi.setAutoReconnect(true);
WiFi.persistent(true);
// Initialize Time
timeClient.begin();
// Necessary code for button setup
pinMode(BUTTON_FWD_PIN, INPUT_PULLUP);
//Initialization of the Jewel
NeoJewel.setBrightness(100);
NeoJewel.begin();
NeoJewel.clear();
NeoJewel.show();
}
void loop() {
buttonpush();
client.loop();
timeClient.update();
int hours = timeClient.getHours();
int minutes = timeClient.getMinutes();
int int_time = (hours*100)+minutes;
String current_time = String(int_time);
if (WiFi.status() != WL_CONNECTED) {
delay(1000);
WiFi.disconnect();
ESP.restart();
}
if (!client.connected()) {
reconnect();
}
unsigned long currentMillis = millis();
if (currentMillis - previousMillis >= interval) {
previousMillis = currentMillis;
Serial.print(int_time);
publishmqtt(current_time, morning_status, evening_status);
// Reset to red colors and new payload at midnight
if (int_time == 0000) {
NeoJewel.clear();
NeoJewel.fill(pureRed, 0, 2);
NeoJewel.show();
morning_status = false;
evening_status = false;
}
}
}
void buttonpush() {
boolean newState = digitalRead(BUTTON_FWD_PIN);
if((newState == LOW) && (oldState == HIGH)) {
delay(20);
newState = digitalRead(BUTTON_FWD_PIN);
if(newState == LOW) {
if(++mode > 4) mode = 0;
switch(mode) {
case 1:
// Nothing Taken
{ NeoJewel.clear();
NeoJewel.fill(pureRed, 0, 2);
NeoJewel.show();
morning_status = false;
evening_status = false;
break; }
case 2:
// Morning Taken
{ NeoJewel.clear();
NeoJewel.fill(pineGreen, 0, 1);
NeoJewel.fill(pureRed, 1, 2);
NeoJewel.show();
morning_status = true;
evening_status = false;
break; }
case 3:
// Afternoon Taken
{ NeoJewel.clear();
NeoJewel.fill(pineGreen, 1, 2);
NeoJewel.fill(pureRed, 0, 1);
NeoJewel.show();
morning_status = false;
evening_status = true;
break; }
case 4:
// Both Taken
{ NeoJewel.clear();
NeoJewel.fill(pineGreen, 0, 2);
NeoJewel.show();
morning_status = true;
evening_status = true;
break; }
}
}
}
// Set the last-read button state to the old state (reset)
oldState = newState;
}
void publishmqtt(String current_time, boolean morning_status, boolean evening_status) {
StaticJsonDocument<200> doc;
doc["time"] = (String)current_time;
doc["morning"] = (String)morning_status;
doc["evening"] = (String)evening_status;
serializeJsonPretty(doc, Serial);
char data[200];
serializeJson(doc, data);
client.publish(mqtt_topic, data, true);
delay(50);
yield();
}
void reconnect() {
// Loop until we're reconnected
while (!client.connected()) {
Serial.println("Connecting to MQTT...");
// Create a random client ID
String clientId = "ESP8266Client-";
clientId += String(random(0xffff), HEX);
if (client.connect(clientId.c_str(), mqtt_user, mqtt_password)) {
Serial.println("connected");
} else {
Serial.println("failed with state ");
Serial.print(client.state());
delay(2000);
ESP.restart();
}
}
}
```